
Approved Layout
Confirm screen size, cabinet arrangement, mounting direction and final installation position.

A reliable installation depends on confirmed dimensions, access, structure, power and signal planning—not only on how quickly cabinets can be connected. JYLED uses the approved screen configuration and project references to help the local team prepare before the display reaches the site.
Confirm screen size, cabinet arrangement, mounting direction and final installation position.
Recheck wall, floor or hanging dimensions and the completed supporting structure.
Confirm distribution points, cable routes, grounding and control-equipment location.
Prepare service clearance, lifting access, safety equipment and installation tools.
Verify dimensions, access and completed supporting work against the approved reference.
Check the mounting surface or structure for level, position and usable fixing points.
Install cabinets in sequence and control flatness, seams and locking connections.
Connect power and data according to the confirmed route, labels and equipment plan.
Install or adjust modules carefully to maintain a flat, consistent display surface.
Power on by section, verify content and signal, and record the final configuration.
These images show module handling, front-access service and alignment work. The exact installation sequence and tools depend on the selected product and site conditions.
12 REAL PHOTOS
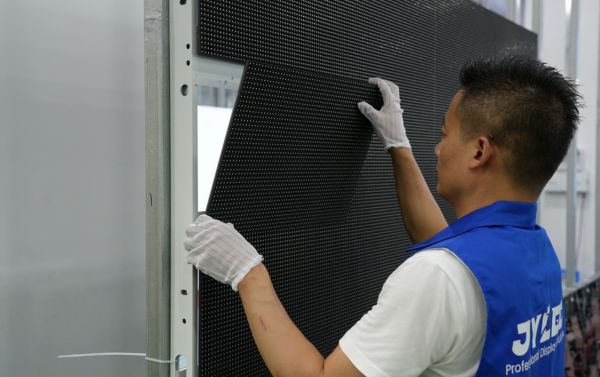


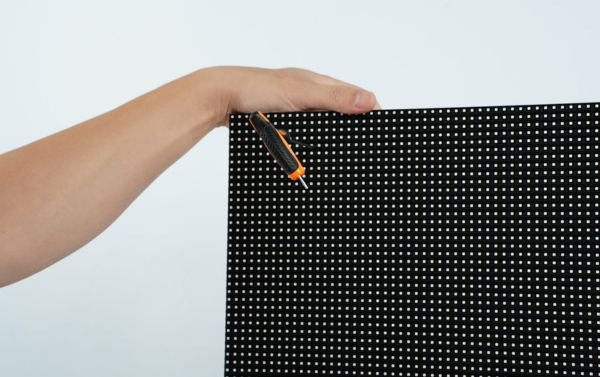


Check flatness, cabinet alignment and visible module gaps.
Confirm cabinet locks, module retention and structure connections.
Verify distribution, grounding and protective devices with the local electrician.
Test signal paths and save the approved control-system configuration.
Run test content and check color, modules, brightness and communication.
Keep maintenance space, tools, spares and documentation available.
Confirm the final screen dimensions, installation position, cabinet layout, service direction, supporting structure, power and signal routes, control location, access conditions and site schedule. The local team should compare these details with the latest approved drawing before work begins.
Installation support depends on the destination, project scope, schedule and local conditions. JYLED can provide product references and remote coordination; any on-site service must be confirmed in the quotation. Local contractors remain responsible for site safety, permits and code-compliant structural and electrical work.
The supporting structure and its connection to the building should be designed or reviewed by the responsible local engineer. Project-specific loads, anchors, wind or seismic requirements and local approvals cannot be replaced by a general product drawing.
The required clearance depends on the cabinet, maintenance direction, structure and local access rules. If rear space is limited, confirm whether a front-service configuration is suitable before ordering. Do not finalize the wall or structure until the selected cabinet dimensions are approved.
Test power distribution, grounding, signal redundancy where specified, module and cabinet communication, control settings, brightness, color consistency and test content. Also record the final configuration and confirm that maintenance access and spare parts remain available.
Keep the final project drawing, wiring references, packing and component labels, control-system backup, spare-parts list, test records and the agreed warranty or service documents. These records make later troubleshooting and part replacement more efficient.
Send the screen layout, site dimensions, installation method and access conditions for an installation-plan review.